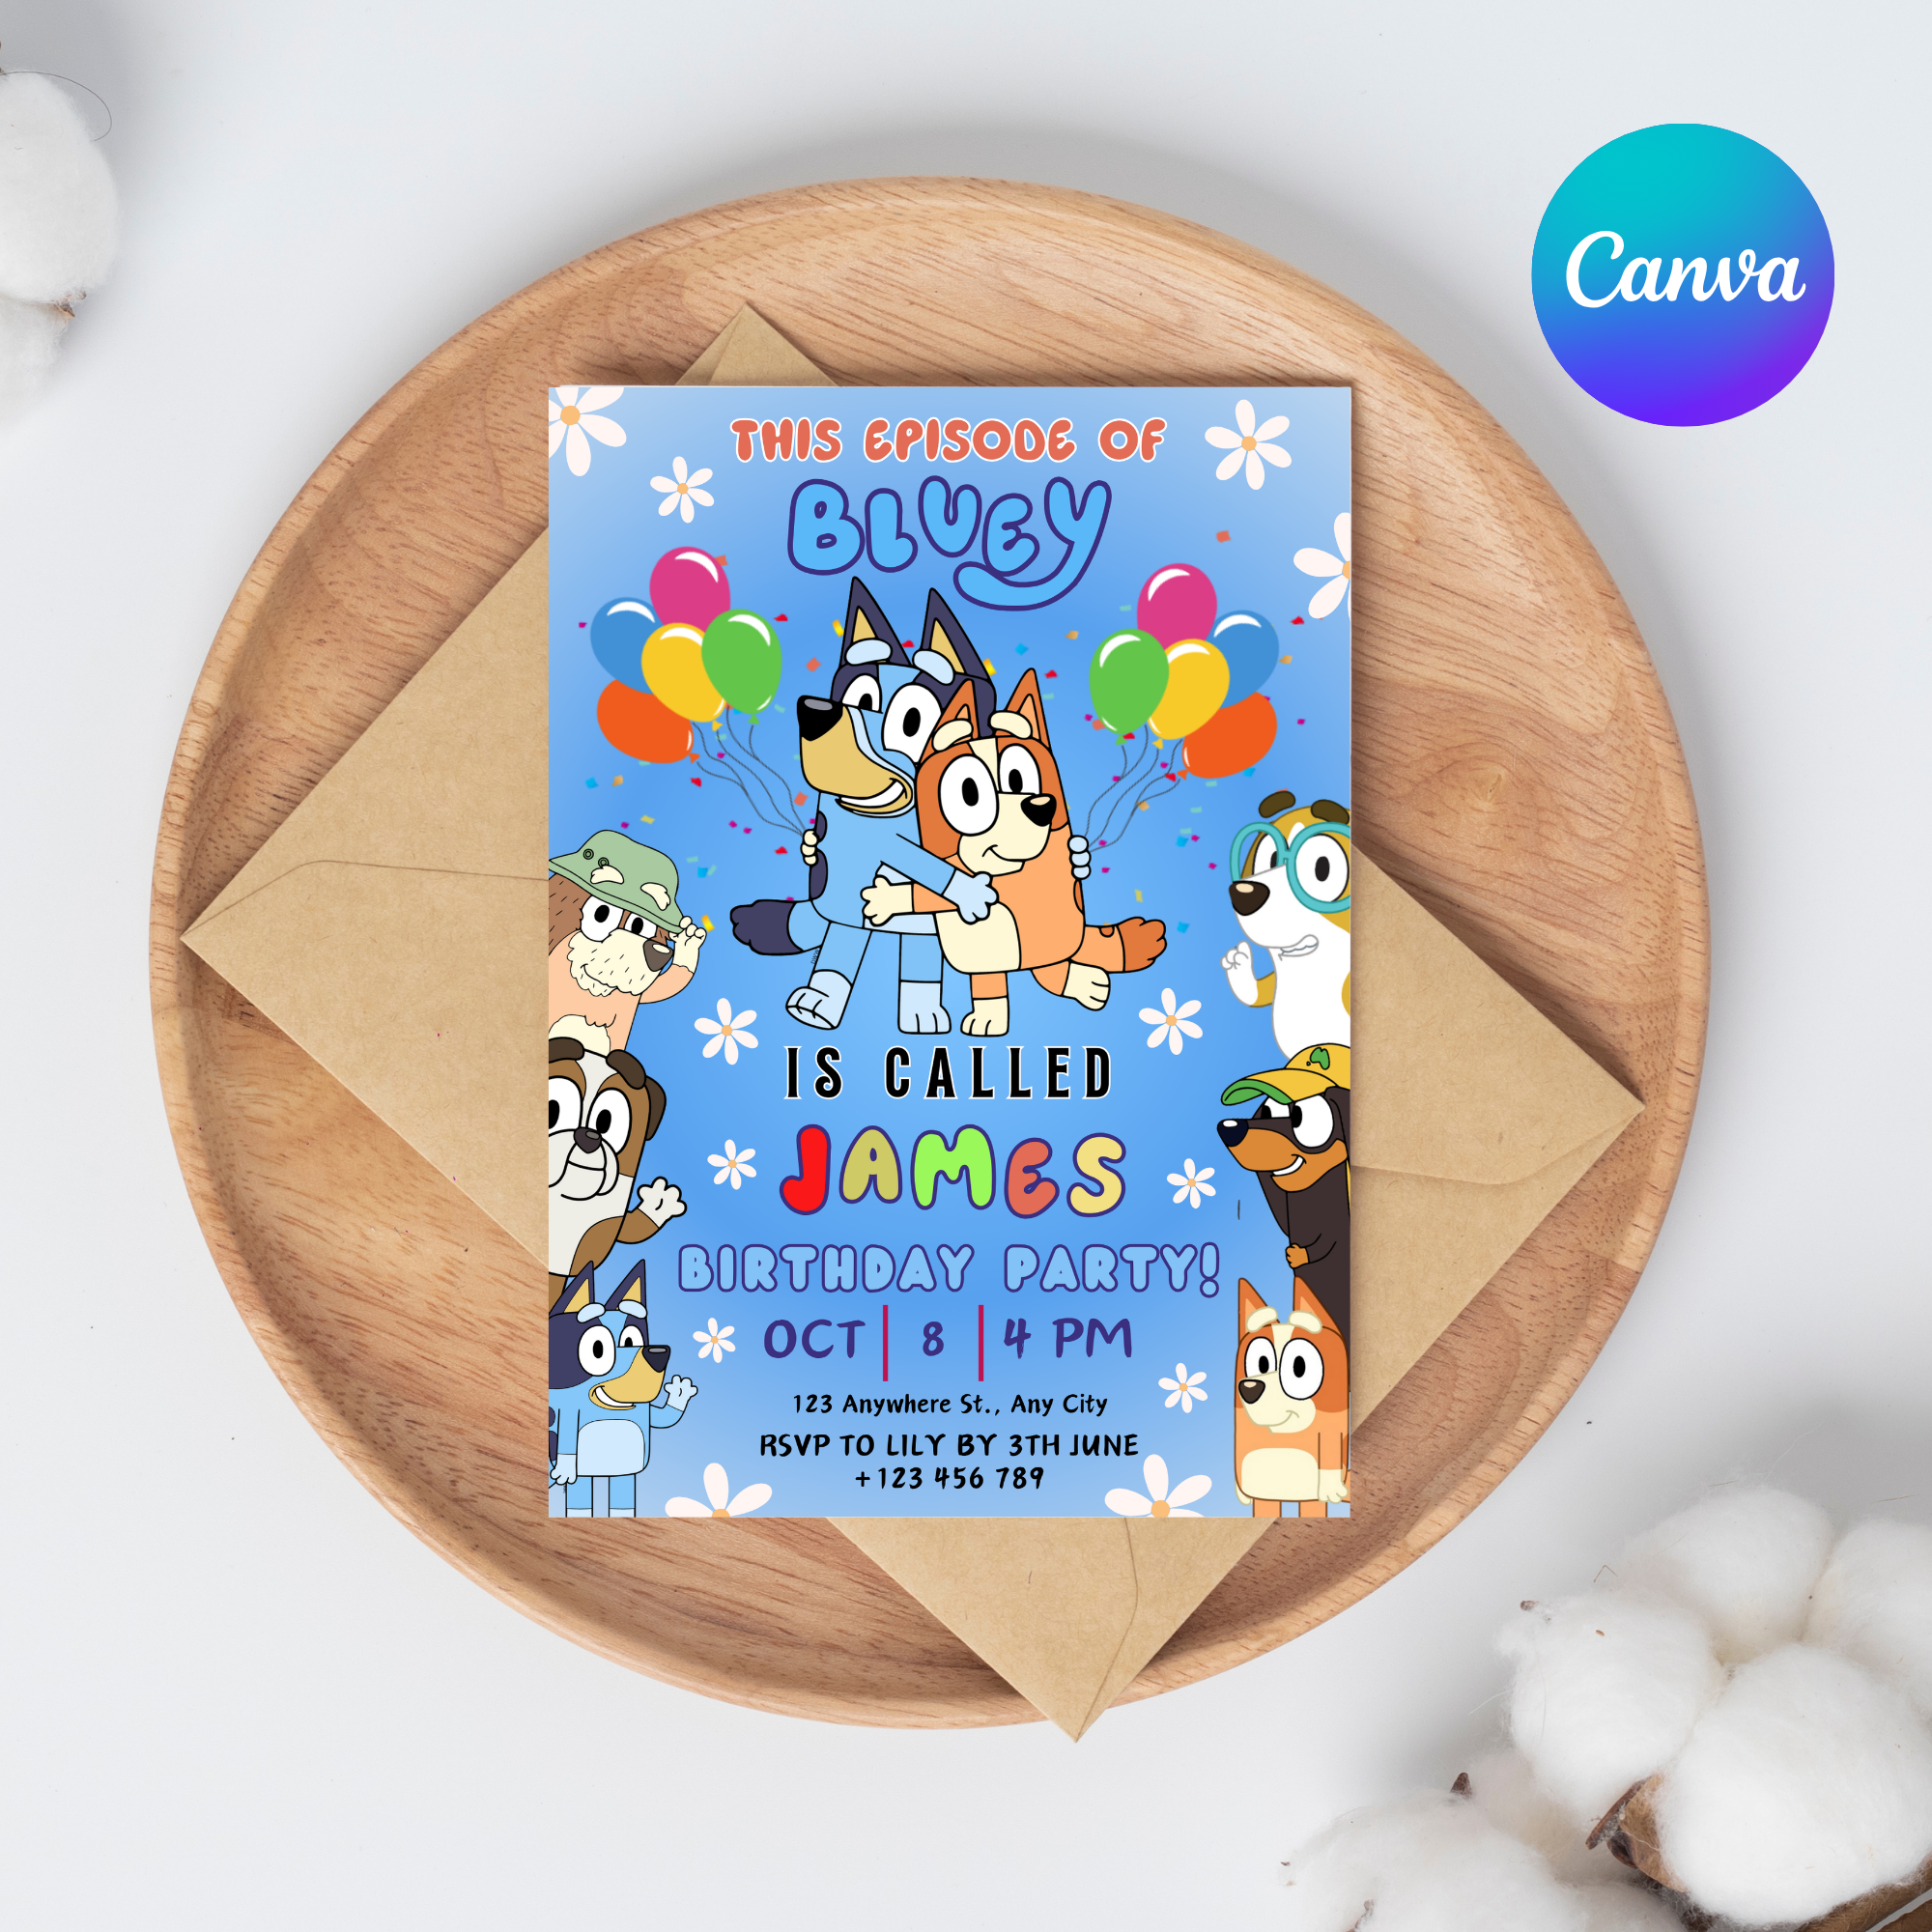
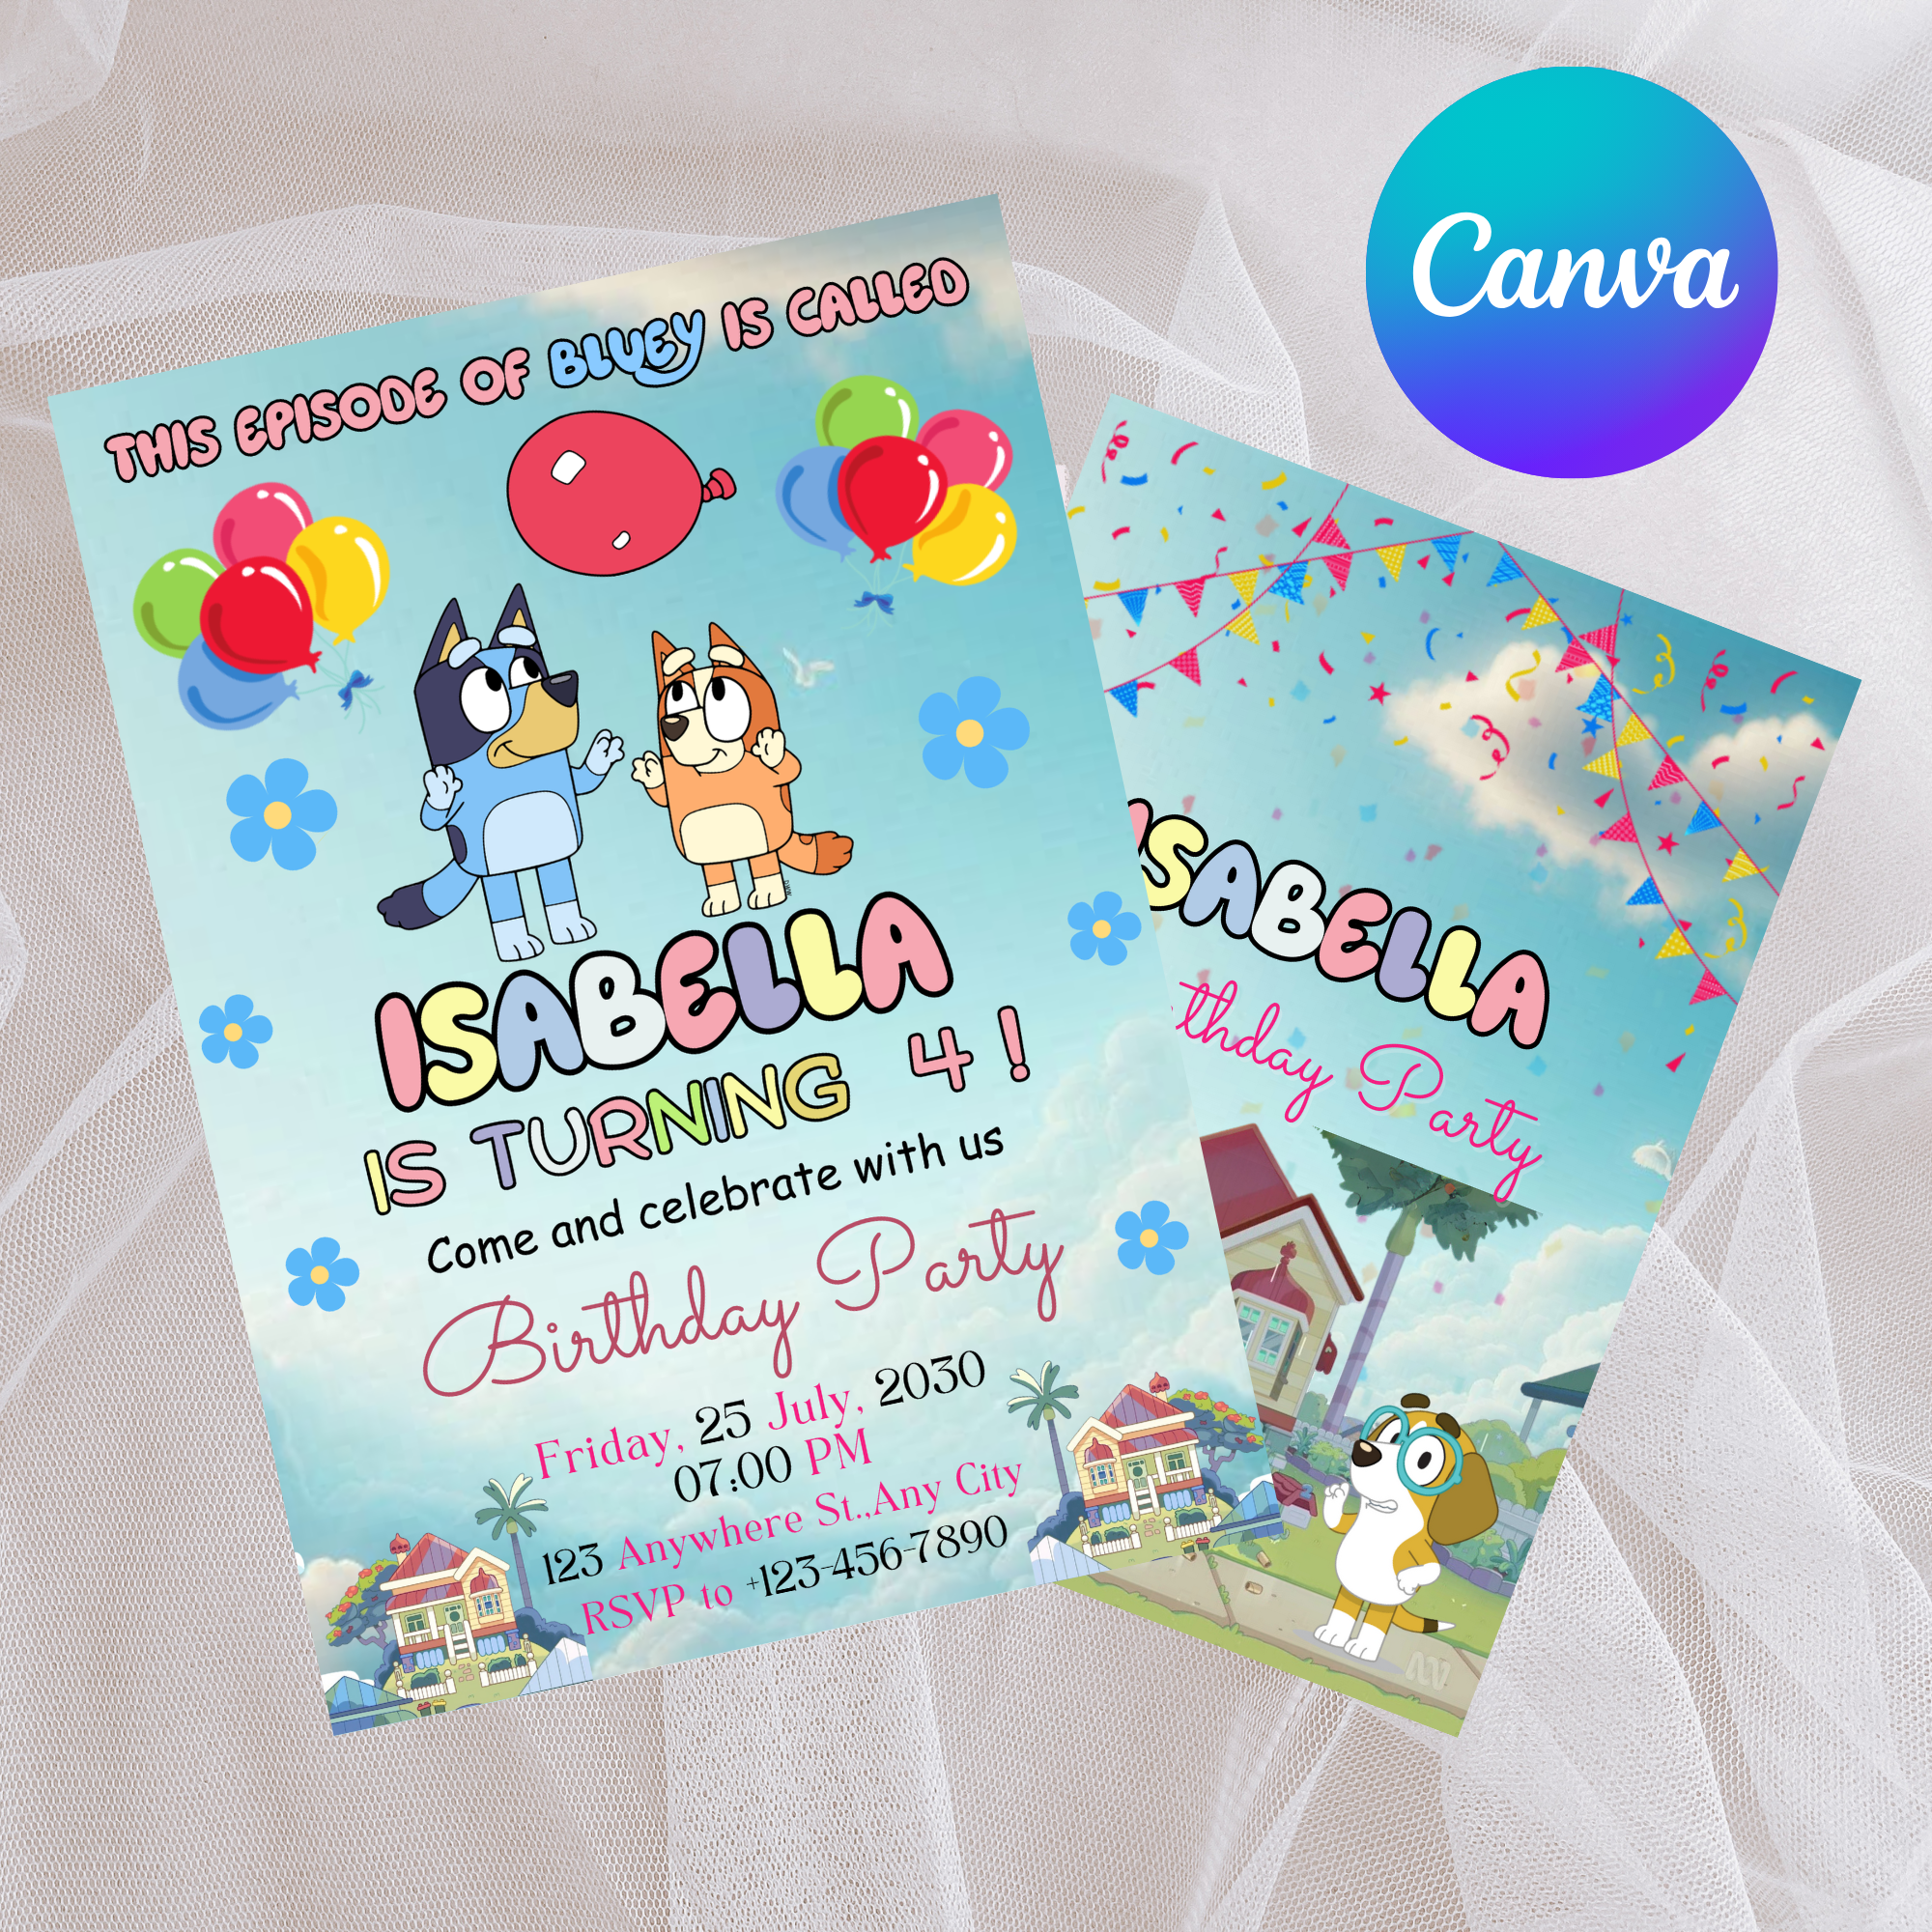
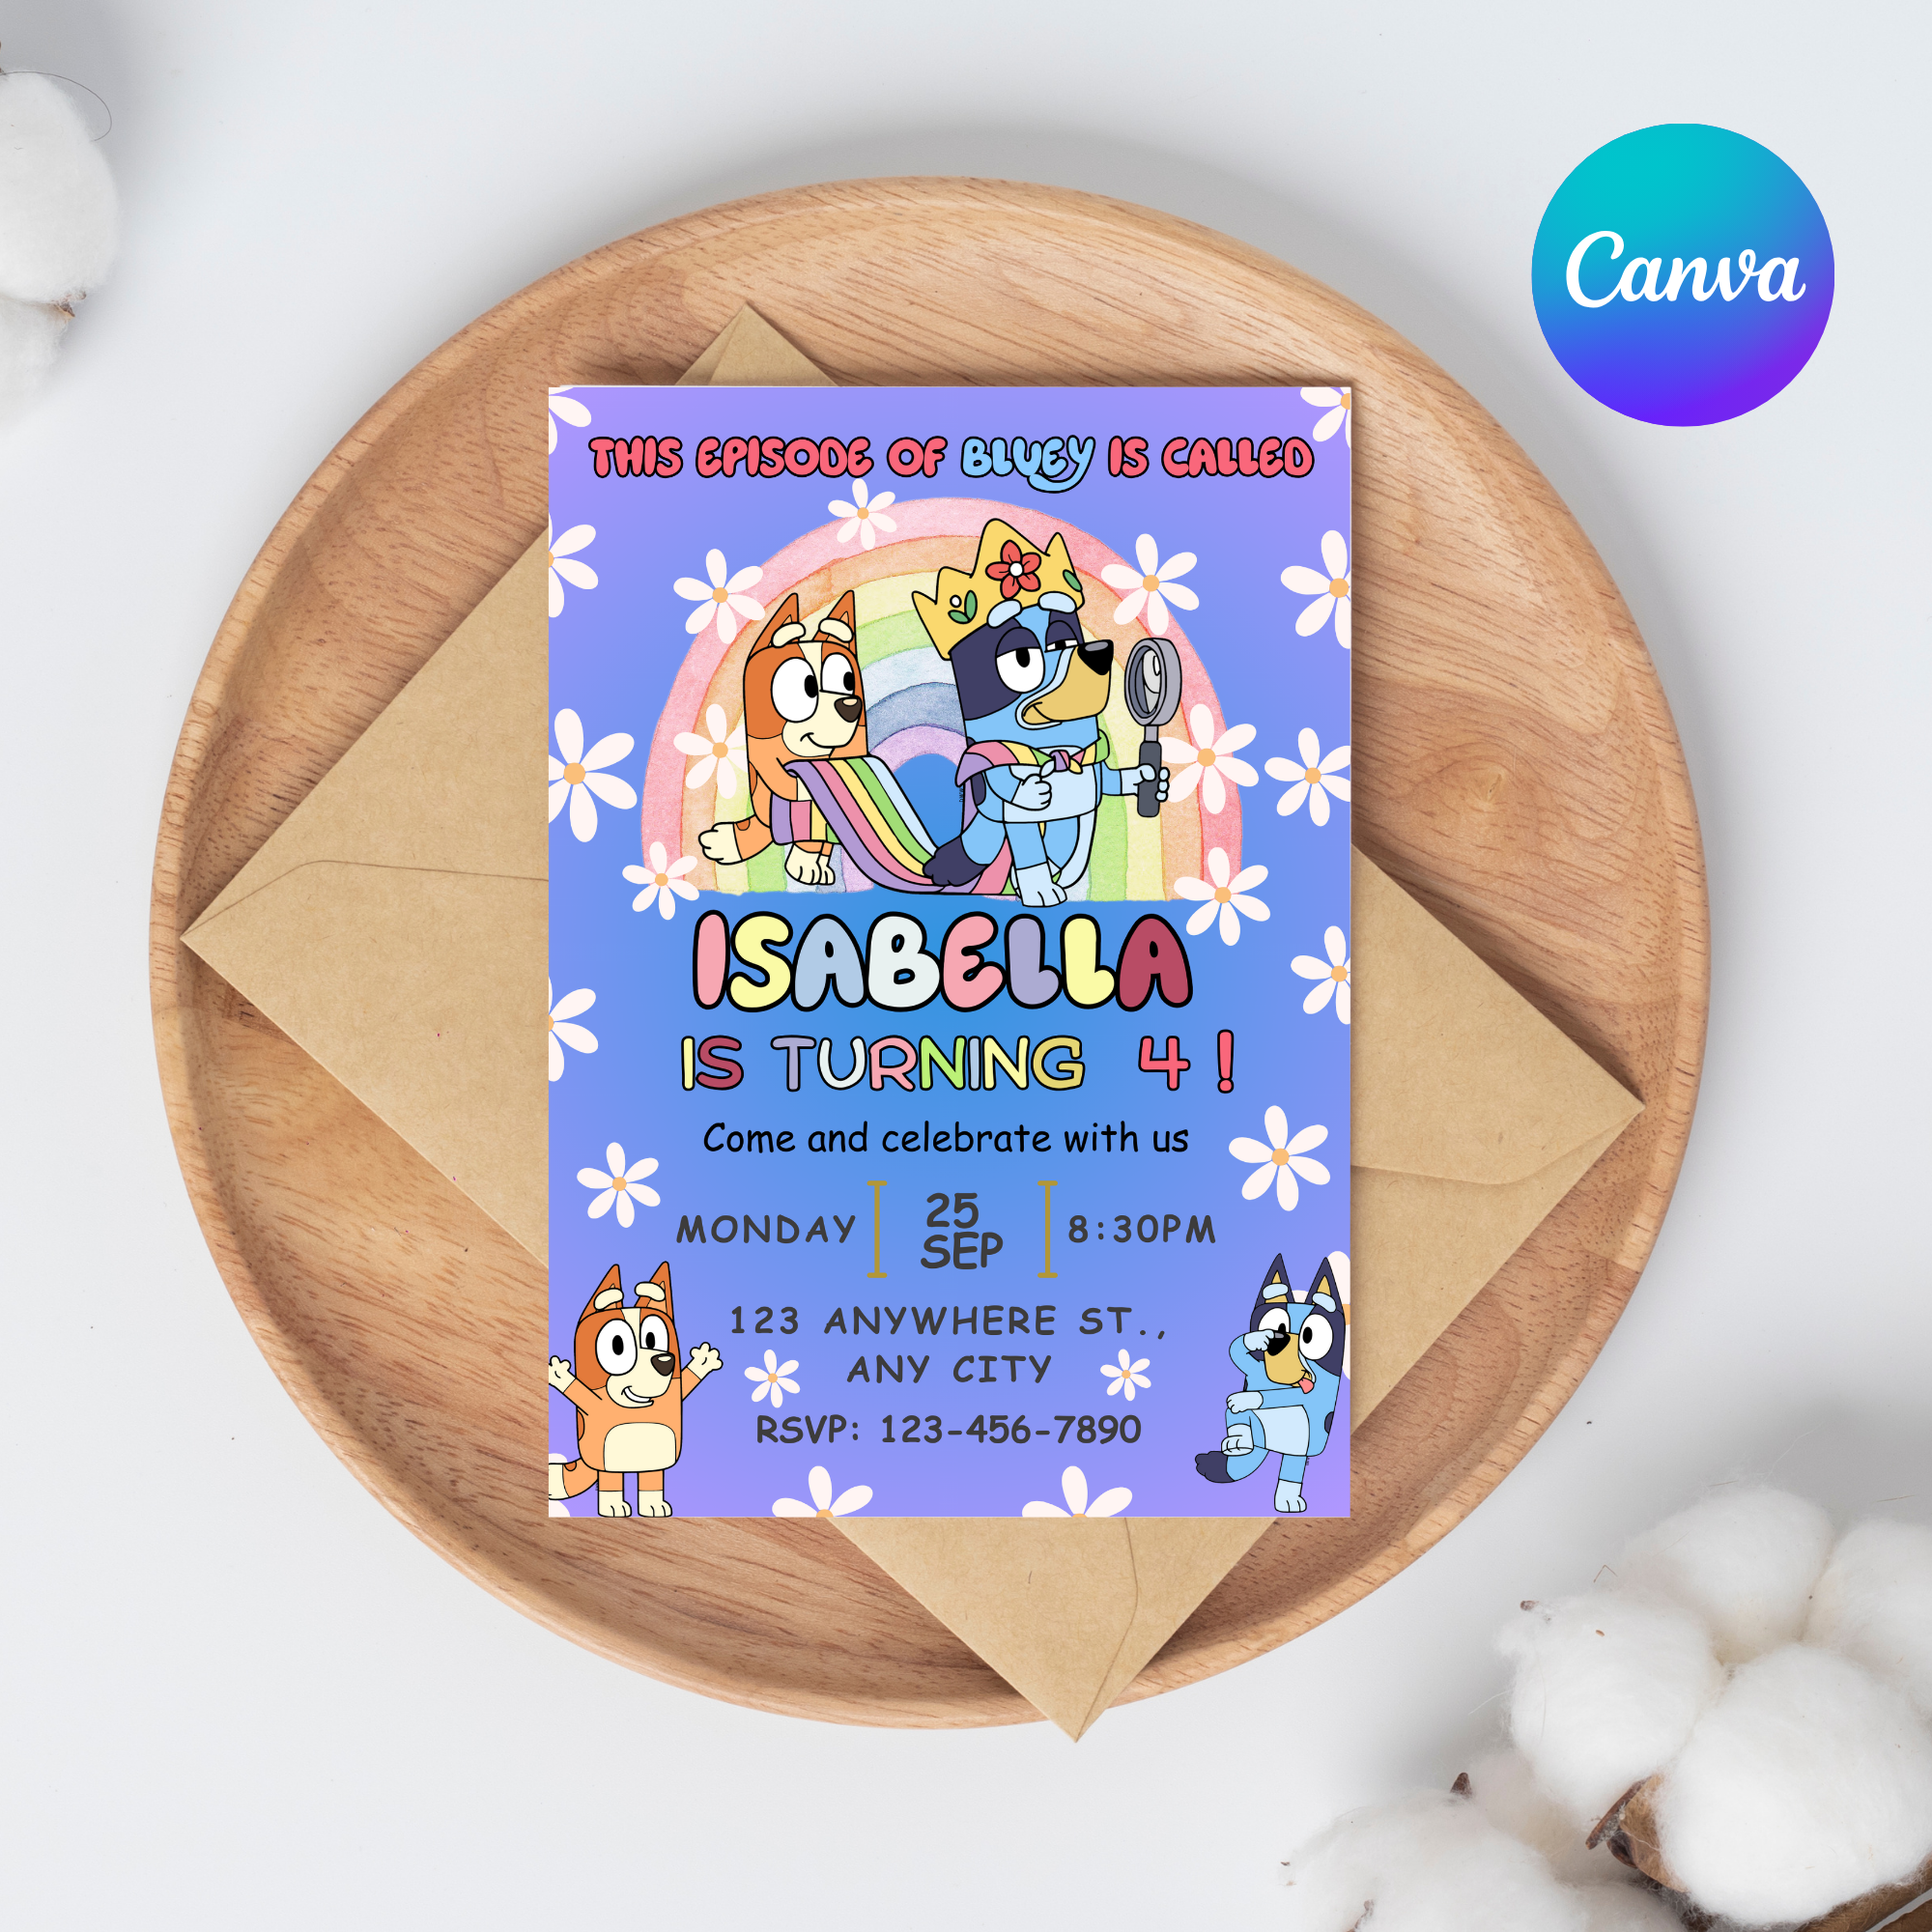
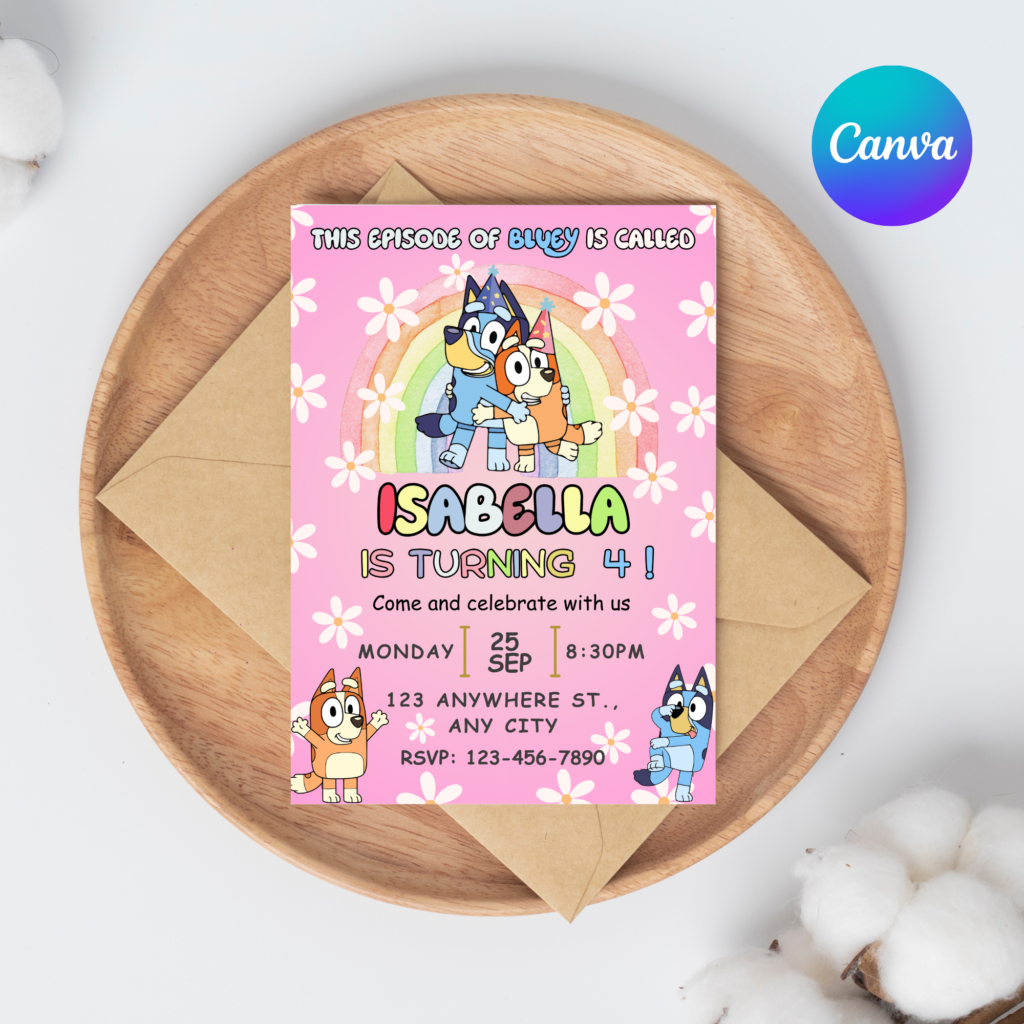
Creating the perfect birthday invitation doesn’t have to be complicated! With editable birthday invitations, you can design a personalized party invite in just a few minutes. Whether you want a fun, colorful template for kids or a chic, elegant design for adults, customizing your invite is easy and fun.
In this guide, we’ll walk you through how to edit your DIY birthday template, add personal touches, and choose the best colors and fonts to match your party theme. Let’s get started!
Step 1: Choose the Right Birthday Invitation Template
The first step is selecting a template that fits your party’s theme. Whether you need a princess invitation, superhero invite, or a modern minimalist design, there’s something for everyone.
💡 Pro Tip: Look for editable birthday invitations that allow you to change colors, fonts, and text easily!
Step 2: Personalize the Text
Once you’ve chosen your template, it’s time to edit the details:
✔️ Add the birthday person’s name
✔️ Include the date, time, and location
✔️ Mention any RSVP details
✔️ Add a short personalized message
💡 Example: Instead of “Join us for a birthday party!” try “Come celebrate Emma’s 5th birthday with a magical unicorn party!”
Step 3: Select the Perfect Fonts
Fonts play a big role in setting the mood of your invitation. Here’s a quick guide:
- Fun & Playful Parties: Use rounded, cartoon-style fonts (e.g., Comic Sans, Pacifico)
- Elegant & Formal Parties: Choose script or serif fonts (e.g., Playfair Display, Great Vibes)
- Modern & Minimalist Parties: Opt for clean, bold fonts (e.g., Montserrat, Lato)
💡 Pro Tip: Don’t use more than two fonts to keep the design balanced.
Step 4: Pick the Right Colors
Your invitation colors should match your party theme! Here’s a quick cheat sheet:
🎈 Bright & Colorful: Great for kids’ parties (use red, yellow, blue)
💖 Pastel & Soft: Perfect for baby showers and elegant birthdays (use pink, lavender, peach)
✨ Black & Gold: Ideal for milestone birthdays and formal events
💡 Pro Tip: Use contrast to make text readable (dark text on light backgrounds or vice versa).
Step 5: Add Images & Graphics
If your template allows, consider adding:
📸 A photo of the birthday person
🎨 Cute icons or clipart that match the theme
🎉 Fun borders or background patterns
💡 Pro Tip: Make sure your images are high resolution for a professional look.
Step 6: Save & Share Your Invitation
Once your invitation is customized, you can:
📩 Download it as a digital file (JPG, PNG, or PDF)
🖨️ Print it at home or a print shop
📱 Send it via email, text, or social media
💡 Pro Tip: If printing, use high-quality cardstock for a premium feel.
Final Thoughts
With the right tools and a little creativity, you can easily design a personalized party invite that looks stunning! Whether you prefer DIY birthday templates or ready-made designs, customizing your invitation is a breeze.
📌 Ready to create your perfect birthday invitation? Check out our collection of editable birthday invitations now!